Introduction
Hey everyone! I'm so excited! I finally completed the transformation of my 30-square-meter tiny apartment! To be honest, I initially thought it was an impossible task with just a $2000 budget, but after a month of hard work, I witnessed a miracle! Now, every time friends visit, they exclaim, "Oh my god! This looks amazing!" and frantically take photos for their social media. It's absolutely incredible!
Space Planning
Honestly, when I first got the keys and opened the door, I was shocked. The 30-square-meter apartment had an L-shaped layout, with the landlord's furniture piled messily in the corners. I stood at the doorway for a while, thinking: Oh no, this is too difficult! How can I fit all my living needs in such a tiny space?
But! As a determined post-95s generation person, I wouldn't let these small challenges defeat me! I took out my phone, spent a week obsessively watching home renovation videos, and downloaded several interior design apps to study countless cases. Finally, during one sleepless dawn, I had an epiphany: Why do we have to define spaces according to traditional thinking?
For instance, why must a living room have a sofa? Why does a desk have to be traditionally rectangular? Why can't we give one space multiple functions? And so, I began my imaginative space reorganization plan.
Closet Transformation
Speaking of the closet transformation, it was truly ingenious! Originally, this deep and narrow closet was a storage nightmare, filled with various items, requiring a complete upheaval every time I needed to find something. One day while browsing Xiaohongshu, I saw a foreign blogger who transformed their walk-in closet into a studio, and I had a revelation: Hey, I could do something similar with my closet!
First, I spent an entire day emptying the closet - the scene was horrific, I even found delivery boxes from three years ago! After cleaning, I went to the hardware store and bought a can of cherry blossom pink latex paint. The shop owner jokingly asked if it was for my daughter's room, and I said it was for myself!
Painting was truly physical labor. I wore a mask and painted two full coats inside, exhausting myself completely, but the result was amazing! The closet became incredibly bright after painting, with the entire space emanating a gentle atmosphere.
Then came the main event. I found an incredibly cheap but high-quality folding table online that could completely fold against the wall when not in use, and when opened, became a one-meter-long mega workstation. This table only cost $15, what a steal!
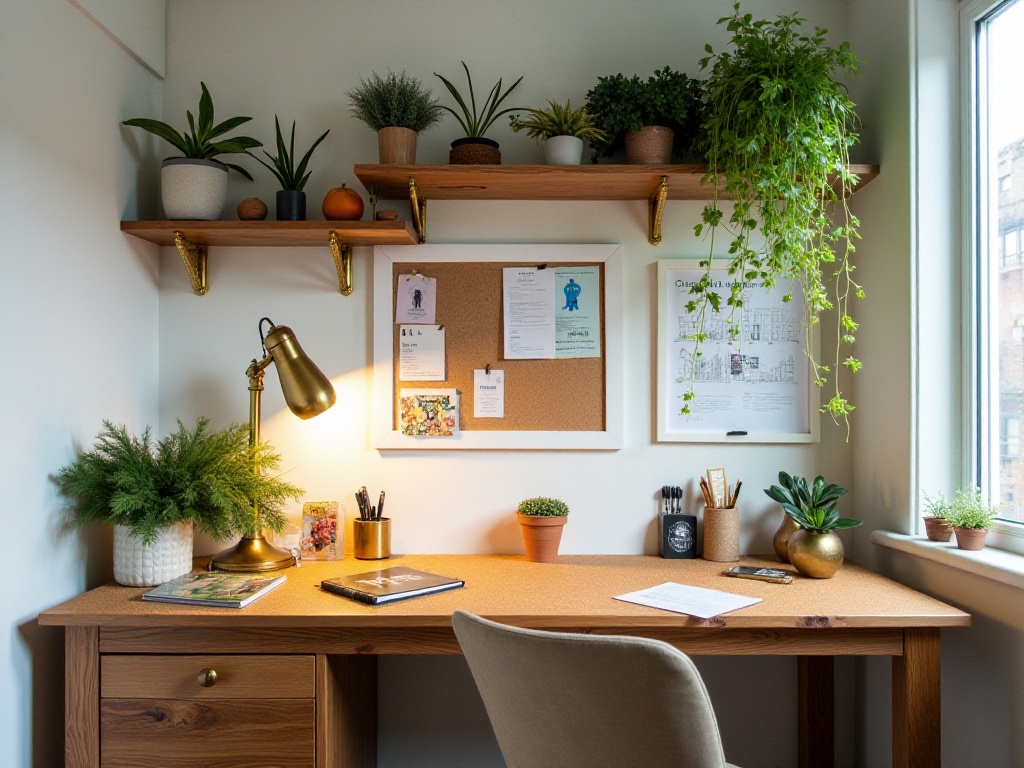
The most impressive part was the backboard design. I bought a large cork board and had the store cut it to perfectly fit the closet's back wall. Now I can pin postcards, photos, and sticky notes wherever I want. Sometimes when I'm tired from working at night, looking up at the cork board full of memories feels therapeutic.
I also installed a row of small spotlights on top of the closet, solar-powered ones I bought online - five lights for just $12. They create such a cozy atmosphere at night, and best of all, no electricity bills!
Now during video meetings, my colleagues always ask if I'm working from a café, haha! I'm just sitting in my "closet studio." The entire transformation cost just around $45, but the happiness and efficiency boost this space has brought me is truly priceless!
Visual Extension
The thing I'm most proud of in this renovation is my clever use of visual extension techniques. Because the apartment is so small, it would feel oppressive without some smart thinking. After my modifications, everyone who visits exclaims, "Wow! Your place looks at least 40 square meters!"
Mirror Magic
Let me tell you, mirrors are absolutely the holy grail for small spaces! I discovered this secret while working at a beauty salon. Have you noticed why beauty salons always look so spacious? It's because they put mirrors everywhere!
I've really taken this lesson to heart. In my little nest, I've strategically placed several mirrors. There's a full-length mirror in the entryway for checking outfits before leaving. Mirrors at the corners of the living room and bedroom not only make the space appear larger but importantly reflect natural light into every corner of the room.
I was very thoughtful when choosing mirrors! Those with fancy frames might look beautiful, but they're not only expensive but can also look tacky. I chose simple frameless mirrors, which are not only versatile but also affordable.
Here's a money-saving tip: Don't buy mirrors from furniture stores! That's just burning money! I bought mine from Taobao, looking for shops with high sales and good reviews. My full-length mirror only cost $30, including delivery and installation - such a great deal! The quality is excellent too, with no distortion, and it doesn't make you look fat, haha!
Another tip is to be careful with mirror placement. Never place them facing the bed, as it can feel creepy at night. I positioned my mirrors to reflect the outdoor scenery, making the room brighter and creating the feeling of living in a garden.
Color Scheme
Choosing the color scheme really had me stuck for a while. With such a small space, the wrong colors could instantly become a disaster. I studied color theory for several days and even spent time observing how showrooms in malls handle their color schemes.
Half-Wall Design
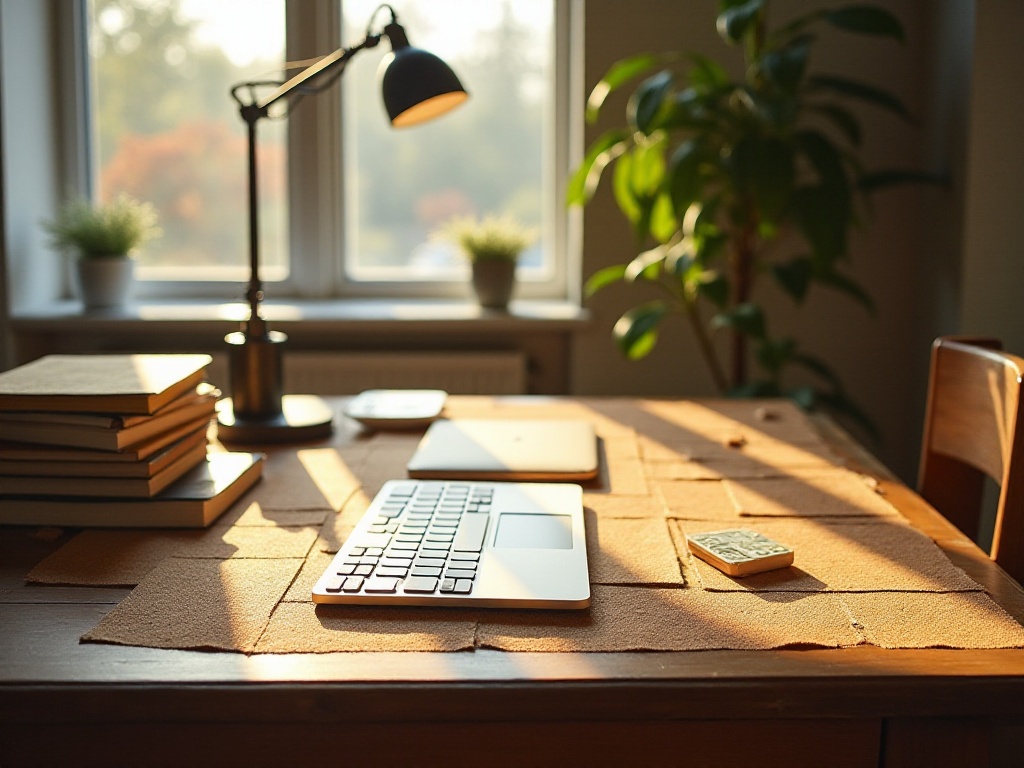
I finally decided to try a half-wall design. This inspiration came from a trendy café I visited recently - they used this design and it looked super high-end. I applied this approach to the main wall in the living room, using café au lait color for the bottom half while keeping the top half white.
To be honest, I was quite nervous when I started painting, worried about how it would turn out. But after it was done, I was amazed! The color scheme not only makes the space feel incredibly warm but also perfectly complements the furniture. My white bookshelf and natural wood coffee table blend in perfectly.
And guess what? This design actually saved me money! Since I only needed to paint half the wall, the paint usage was cut in half. I bought trending color latex paint, and a 5L bucket wasn't even half used - the remainder can be saved for touch-ups later.
Before painting, I did something really clever. I drew a super straight line on the wall with a utility knife, then carefully applied masking tape. This resulted in a perfect dividing line without any paint bleeding through. I learned this trick from Douyin, and it works great!
Soft Furnishings
Soft furnishings really got me excited during the renovation! With a limited budget, I compared prices extensively and calculated carefully. But I believe in certain areas, you need to spend money wisely - don't let being overly frugal affect the overall result.
Fabric Selection
I put a lot of thought into choosing bedding. Despite the limited budget, I felt bedding wasn't something to skimp on, as it's used daily and affects comfort. I specifically chose a 100% cotton four-piece set that feels amazing and is supposedly very breathable.
Although it was a bit more expensive at around $45, the feeling is completely different! The fabric is super soft and gets more comfortable with each wash. I chose a solid café au lait color scheme, which goes with everything.
As for throw pillows, I really splurged! I bought three pillows in different textures but the same color scheme - velvet, knit, and one with tassels. Though they cost over $30, the effect is amazing! When arranged on the bed, it instantly gives off a high-end hotel vibe.
I also had a clever idea to buy two pillowcases for each pillow. This way, I can change them according to my mood, allowing the bedroom's style to change too. Lately, I've been loving the café au lait velvet pillowcase - it looks so cozy with the bedside lamp.
For curtains, I chose carefully after much consideration. I selected a double-layer curtain with blackout function - white sheer on the outside and beige blackout fabric on the inside. This way, I can just use the sheer curtain during the day to let sunlight in, and pull the blackout layer at night without worrying about street lights affecting sleep.
Plant Decoration
To be honest, I was initially reluctant to keep plants at home. I was mainly worried about not being able to care for them properly and wasting money if they died. But later I discovered that some plants are really easy to maintain and add a lot of life to the home.
Plant Arrangement
After detailed research, I chose several super low-maintenance plants. First is the Monstera, which is absolutely essential for lazy people! You don't need to water it daily, and it's very easy to care for. I placed one on the windowsill, and watching its leaves sway in the sunlight daily improves my mood.
Pothos is also a great choice - not only is it easy to care for, but it's said to purify the air. I hung a small flower basket near my desk with pothos in it, and the trailing vines create such a nice effect. Plus, pothos is super easy to propagate - from one small cutting, I now have several pots!
The Clivia is my proudest choice. It looks beautiful when blooming and is said to bring good fortune. I placed it at the entrance, so it's the first thing I see when I come home, instantly lifting my mood.
Caring for these plants is actually very simple. I just check if they need water when I wake up each morning and wipe dust off their leaves. On weekends, I rotate them to the balcony for some sun. Honestly, taking care of plants is very therapeutic - I feel like I've become more patient.
Final Thoughts
Looking back at this renovation journey, it was both challenging and joyful. Challenging because I had to do everything myself, from painting to assembling furniture, from decorating to caring for plants - each step required time and energy. But seeing the gradual changes, watching my home become cozier, that sense of achievement is irreplaceable.
Most importantly, I discovered that creating a cozy home isn't about money. What matters is whether you're willing to put in thought and effort. Like my renovation - although I only spent $2000, every penny was well spent.
I also feel that the greatest joy in home renovation isn't the result, but the process. Each new change, each new combination brings different surprises. The process of gradually transforming the house into your ideal home is really interesting.
Oh, and if you're planning to renovate your own small space, my advice is don't rush to complete everything at once. Start with a small corner, like renovating your desk area or creating a photo wall. Take it slow, let each change bring anticipation and surprise. After all, a home is for living, not just for show - the most important thing is to live comfortably and happily!
That's all for today's share! I hope my experience provides some inspiration for those planning to renovate their homes. Remember, with dedication, even the smallest space can become a cozy home!


